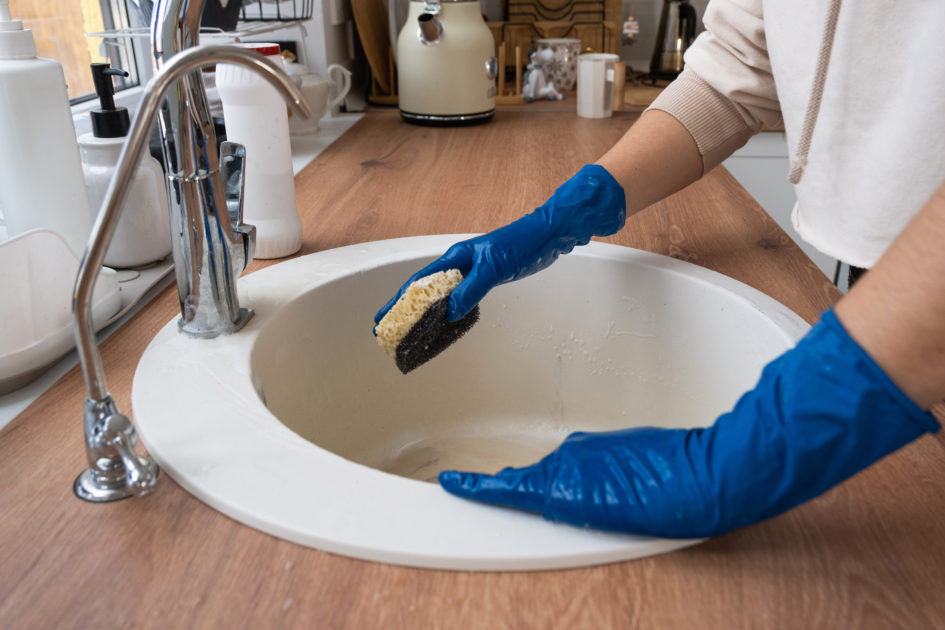
Looking to transform your kitchen sink from dull to dazzling? You’re in the right place! This guide will walk you through a quick and efficient approach to achieving a sparkling sink—making it feel as effective as a professional kitchen cleaning routine, and reflecting the cleanliness of your entire space.
We’ll start by gathering all the essential cleaning tools – from the humble sponge to the mighty baking soda and vinegar duo. Then, we dive into the nitty-gritty of clearing, rinsing, and scrubbing away stains and residue. But it doesn’t stop there; we’ll also share tips on freshening up your drain and disposal, adding that final rinse and shine, and maintaining that gleam with daily habits.
Whether you’re tackling tough stains or just aiming for that extra shine, this article has got you covered. Let’s roll up our sleeves and get started on the path to a sparkling clean sink!
Gather Your Cleaning Essentials
Before embarking on the journey to a sparkling sink, assembling your cleaning essentials is a crucial first step. This process involves selecting both basic and optional tools tailored to tackle various cleaning tasks. Essentials like a sponge, dish soap, baking soda, and vinegar lay the foundation for most eco-friendly kitchen cleaning activities—especially when you’re avoiding harsh chemicals and tackling general cleaning needs, tough stains, and mineral deposits effectively.
For those aiming for a deeper clean, incorporating optional tools such as a toothbrush for hard-to-reach areas, lemon for a natural fragrance and acidity, and stainless steel polish to restore shine can elevate the cleaning process. By gathering these items, you ensure a well-prepared and efficient approach to achieving a clean and gleaming sink, aligning with the intent to maintain hygiene and aesthetics in your kitchen space.
Basic Items Needed
- Sponge: Essential for general scrubbing.
- Dish Soap: Cuts through grease and grime.
- Baking Soda: Acts as a gentle abrasive for tough stains.
- Vinegar: Effective against mineral deposits and for disinfecting.
- Microfiber Cloth: Ideal for drying and polishing without leaving streaks.
Optional Tools for Deeper Cleaning
- Toothbrush: Reaches into tight spaces around faucets and drains.
- Lemon: Natural acidity helps break down stains and adds freshness.
- Stainless Steel Polish: Provides an extra shine and protective layer against future marks.
Clear and Rinse the Sink
Starting with a clear sink is fundamental. Remove all dishes and debris to ensure nothing obstructs the cleaning process. Next, rinsing with warm water is crucial; it helps loosen buildup and makes the subsequent scrubbing more effective.
This initial step not only prepares the surface for a deeper clean but also immediately improves the sink’s overall appearance. Warm water is particularly effective as it softens residues and stains, making them easier to remove. This phase sets the stage for a thorough cleaning, aligning with the goal of achieving a sparkling sink.
Remove Dishes and Debris
Clear the Sink: Ensure all dishes and debris are removed. This step is critical for an unobstructed cleaning area, allowing for a more thorough and effective cleaning process.
Rinse with Warm Water to Loosen Buildup
Prep for Scrubbing: Utilize warm water to rinse the sink thoroughly. The warmth helps in loosening any buildup or residue, setting the stage for an easier and more efficient scrubbing session.
Scrub Away Stains and Residue
After the preliminary rinse, the next critical step is to scrub away stains and residue. Utilizing a sponge with dish soap targets general grime, while baking soda serves as a powerful ally against tough stains. For persistent mineral deposits and hard water stains, vinegar proves to be an effective natural cleaner.
This scrubbing action not only addresses visible blemishes but also works at a microscopic level to ensure a hygienic, sanitized sink surface—an essential step in any deep kitchen cleaning routine. This phase is pivotal in transforming your sink from merely clean to sparkling, aligning with the ultimate goal of restoring the sink’s pristine condition.
Use Dish Soap for General Cleaning
Efficiently Tackle Grease: Dish soap, combined with a sponge, cuts through everyday grease and grime, leaving surfaces clean and hygienic.
Baking Soda for Tough Stains
Eradicate Stubborn Marks: For those hard-to-remove stains, baking soda acts as a gentle yet effective abrasive, scrubbing away without scratching the sink’s surface.
Vinegar for Mineral Deposits and Hard Water Stains
Dissolve Buildup Naturally: Vinegar’s acidic nature makes it the perfect solution for breaking down mineral deposits and erasing hard water stains, restoring the sink’s shine.
Freshen the Drain and Disposal
A key aspect of maintaining a sparkling sink is ensuring the drain and disposal are free from odors and buildup. Utilizing a combination of baking soda and vinegar can effectively deodorize and help loosen buildup in these areas. Their natural fizzing reaction helps dislodge grime and neutralize odors, though for deep cleaning, scrubbing with dish soap may still be necessary. For added freshness, citrus peels or ice cubes can be used; citrus peels leave a pleasant scent and contribute to cleaning with their acidic properties, while ice cubes help sharpen disposal blades and remove lingering food particles.
This approach not only enhances the cleanliness of the sink but also contributes to a more hygienic and inviting kitchen environment—just like the results you’d expect from complete kitchen cleaning professionals.
Baking Soda and Vinegar for Deodorizing
Natural Odor Removal: A mixture of baking soda followed by vinegar creates an effervescent reaction, effectively neutralizing and eliminating drain odors, offering a chemical-free solution to maintain freshness.
Use Citrus Peels or Ice Cubes for Freshness
Refreshing Aroma and Maintenance: Introducing citrus peels into the disposal imparts a zesty scent, while ice cubes aid in dislodging food particles and sharpening the blades, ensuring both cleanliness and a pleasant smell.
Final Rinse and Shine
Concluding the cleaning process with a final rinse using warm water ensures the removal of any remaining cleaning agents or loosened grime, setting the stage for the ultimate goal: a sparkling sink. Following the rinse, drying with a microfiber cloth not only prevents water spots but also polishes the surface, enhancing the sink’s shine. For those with stainless steel sinks, applying a small amount of olive oil or stainless steel polish can add an extra layer of luster, protecting the surface from future stains and maintaining its gleam.
This final touch is crucial for achieving not just cleanliness but also a visually appealing finish that reflects meticulous care and maintenance.
Rinse with Warm Water
Final Removal: A final rinse with warm water ensures that all cleaning agents and loosened debris are completely washed away, leaving the sink ready for drying and polishing.
Dry with a Microfiber Cloth
Spotless Finish: Drying the sink thoroughly with a microfiber cloth not only prevents water spots but also contributes to a streak-free shine, enhancing the overall appearance.
Apply Olive Oil or Stainless Steel Polish for Extra Shine
Lustrous Protection: Applying a small amount of stainless steel polish or mineral oil as a finishing touch provides an extra level of shine and helps repel water spots and stains. Olive oil can also be used but may require more frequent reapplication.
Daily Habits to Keep Your Sink Sparkling
Maintaining a sparkling sink goes beyond occasional deep cleaning; it requires cultivating daily habits that prevent the buildup of stains, debris, and odors. Rinsing the sink after each use washes away food particles and prevents residue from settling. Avoiding the accumulation of dishes and food scraps ensures that cleaning tasks don’t become overwhelming and helps in maintaining hygiene.
Wiping down the sink at the end of the day with a microfiber cloth not only keeps it dry but also discourages the growth of bacteria and mold. These simple yet effective routines are key to preserving the cleanliness and shine of your sink with minimal effort, aligning with the goal of long-term maintenance and care.
Rinse After Each Use
Immediate Action: Ensure to rinse the sink thoroughly after every use. This simple step helps to prevent the buildup of food particles and liquids, which can lead to stains and residue over time.
Avoid Leaving Food Scraps in the Sink
Hygiene First: Always remove food scraps from the sink immediately. Leaving them can attract pests, cause odors, and encourage bacterial growth, compromising the cleanliness of your kitchen.
Wipe Down the Sink at the End of the Day
Daily Routine: Make it a habit to wipe down the sink with a microfiber cloth at the end of each day. This not only keeps the sink dry but also maintains its luster and prevents the growth of mold and bacteria.
Conclusion
Achieving and maintaining a sparkling sink is not just about the immediate aesthetic appeal; it’s a testament to a clean and hygienic kitchen environment. By following a straightforward approach that includes gathering the right cleaning essentials, clearing and rinsing the sink, scrubbing away stains and residue, freshening the drain and disposal, and applying the final rinse and shine, you can ensure your sink remains in pristine condition. Incorporating daily habits such as rinsing after each use, avoiding leaving food scraps, and wiping down the sink regularly further supports this goal.
This regimen not only simplifies the cleaning process but also prolongs the life and luster of your sink, making it a cornerstone of kitchen maintenance. And if you ever find the task overwhelming or aren’t getting the results you want, it might be worth reaching out to an experienced professional cleaning company for that professional-level sparkle.


