
Interested in tackling the stubborn yet common household problem of soap scum? If so, you’re in the right place. This article offers an in-depth look at understanding what soap scum is, its causes and effects – and importantly, how to remove it safely and effectively from your surfaces. From preparation to clean up, choosing the right cleaning agents to DIY soap scum removers, we will guide you through the full process. We will even tackle steps for preventing future build-up, troubleshooting persistent problems and when it might be best to call in the professionals. In short, a comprehensive guide to say goodbye to soap scum and hello to sparkling clean surfaces.
Preparation
Before jumping straight into the cleaning process, a little preparation can go a long way in efficiently removing soap scum. In this section, we’ll guide you on how to identify the affected areas and what cleaning supplies you’ll need.
Identifying Affected Surfaces
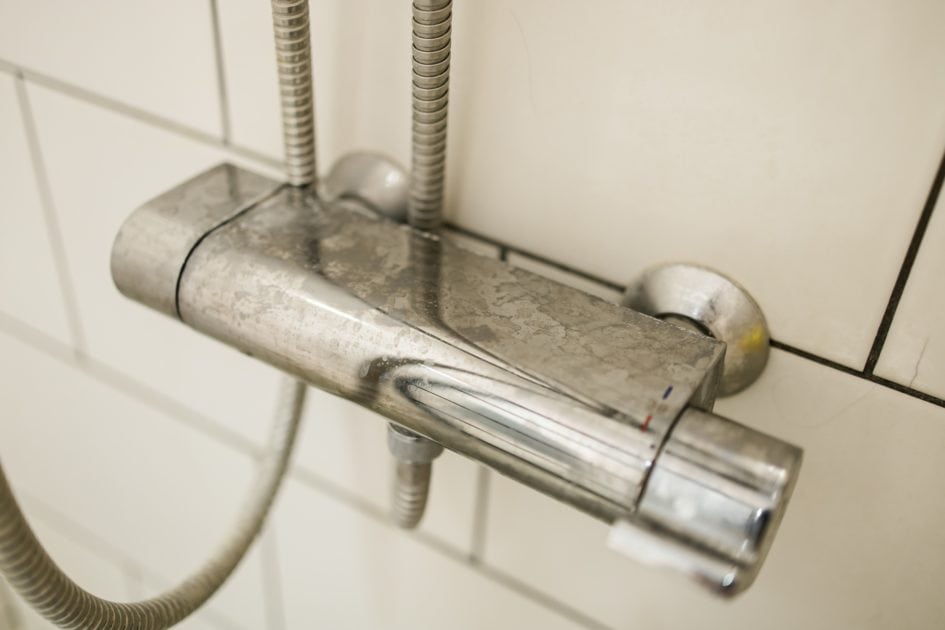
Primarily, soap scum is found on surfaces that are frequently in contact with soap and water. These include the walls of your shower or bathtub, bathroom tiles, sink, and even on your shower curtain or door. Soap scum often appears as a dull, cloudy, or chalky residue, and is typically white or grey in colour. Once you have identified the affected surfaces, and the degree of build-up, you can decide on the best approach to remove the soap scum.
Gather Cleaning Supplies
For a successful soap scum removal, you would need a cleaning solution, a non-abrasive scrub brush or sponge, and microfiber cloths for drying. Depending on your preference, the cleaning solution could be a commercially available soap scum remover or a homemade mix. Finally, don’t forget to grab a pair of gloves to protect your hands during the process.
Cleaning Solutions
There’s a range of options available for removing soap scum, from commercial cleaners to homemade concoctions. In this section, we’ll explore both types and help you decide the best fit for your cleaning needs.
Commercial Solutions
Commercial cleaners are readily available and can be very effective at dealing with soap scum. They are specially formulated with ingredients designed for breaking down and removing soap scum. Brands like CLR, Scrubbing Bubbles, and Lime-A-Way are a few examples. However, bear in mind that some commercial products contain harsh chemicals that may irritate sensitive skin or produce strong odours. Always follow the instructions on the packaging and consider ventilation while using them.
Natural Solutions
For those who prefer a greener approach, there are several natural solutions for soap scum removal. Vinegar, for instance, is an excellent natural cleaner. Its acidity helps to break down the grime and residue. Another option is baking soda, which, due to its mild abrasive nature, aids in scrubbing away the soap scum without scratching the surface. Even a simple solution of dish soap and warm water can work wonders. Remember, while these natural methods can be effective, they may require a bit more scrubbing effort compared to commercial cleaners.
DIY Soap Scum Remover Recipe
If you’re up for a bit of DIY, you can make your own effective soap scum remover using ingredients that are likely already in your home. This route offers the satisfaction of a clean bathroom without the use of harsh chemicals.
Ingredients
To whip up your own soap scum remover, you’ll need only a few key ingredients:
- 1 part white vinegar
- 1 part dish soap
- A clean, empty spray bottle
Instructions
Creating your DIY soap scum remover is straightforward. Here’s how:
- Mix the vinegar and dish soap in your spray bottle and shake well until thoroughly combined.
- It’s important to shake the bottle before each use to ensure the ingredients are well-mixed. Spray the solution onto the surface you want to clean, making sure to cover all the soap scum.
- Let the solution soak for several minutes, then wipe away with a microfiber cloth or cleaning sponge.
- After cleaning, rinse the area with fresh water. This can be done using a handheld shower head, or if you don’t have one, a large cup will work just fine.
Step-by-Step Process for Removing Soap Scum
Armed with your cleaning solution of choice and necessary supplies, it’s now time to tackle that soap scum. This section will provide a step-by-step guide to ensure you achieve the clean, soap scum-free surfaces you’re aiming for. Let’s get started on the process of removing soap scum efficiently and effectively.
Step 1: Pre-Cleaning
Start by removing any items from the area to be cleaned. Then, pre-clean the area by wiping it down with a wet sponge to remove superficial dirt and grime. This will enable the cleaning agent to penetrate the soap scum more effectively.
Step 2: Applying the Cleaner and Scrub
Then apply the cleaner generously and let it sit for a while, usually 10-15 minutes, depending on the strength of the cleaner. After that, scrub away using a scrub brush or sponge, using circular motions and applying sufficient pressure to remove the soap scum. Remember, different surfaces can handle different levels of scrubbing, so adjust your pressure accordingly.
Step 3: Rinse and Dry
After scrubbing, rinse the area thoroughly with warm water to remove the cleaner residue and any loose soap scum. Make sure to get rid of all cleaning solution residues as it can leave streaks or spots if left to dry. Finally, dry the area well with a microfiber cloth to prevent water spots and further soap scum formation.
Preventing Soap Scum Build-up
While removing soap scum is a necessary task, preventing its build-up can save you a lot of effort in the future. In this section, we’ll share some simple strategies that can help you reduce and potentially prevent the formation of soap scum.
Clean Regularly
One of the most effective ways to prevent soap scum build-up is to clean your surfaces regularly, or establish a regular cleaning routine. A quick wipe down after each use can do wonders. By not allowing the soap and minerals to sit and react, you’re less likely to face soap scum issues. Plus, regular cleaning reduces the need for heavy scrubbing later.
A quick tip: keep a small squeegee in the shower and use it to wipe down the walls and doors after each use.
Change the Type of Soap You Use
The type of soap you use can also contribute to the amount of soap scum that builds up. Bar soaps, for example, often contain talc which reacts with hard water to produce soap scum. Switching to liquid or gel soaps can be a good move, as these types of soaps usually contain little to no talc.
Use Water Softener
Since soap scum is a result of soap reacting with hard water minerals, using a water softener can help prevent soap scum build-up. A water softener works by replacing hard water minerals like calcium and magnesium with softer minerals, such as sodium. This means there are fewer minerals in your water to react with soap, resulting in less soap scum. While installing a water softener represents an investment, it can help not only prevent soap scum but also protect your plumbing and appliances from the damaging effects of hard water.
Understanding Soap Scum
Before tackling the task of removing soap scum, it’s essential to understand what it is and why it forms. In this section, we’ll dive into the details behind those pesky soap scum stains and preventing damage to surfaces.
What is Soap Scum?
Soap scum is a stubborn residue that often forms on bathroom surfaces such as showers, bathtubs, and sinks. It’s a result of soap mixing with hard water minerals like calcium and magnesium. This combination creates a film or coating that sticks to surfaces, leading to those familiar white or gray stains. It’s not just unattractive but can also be quite tricky to remove.
Causes of Soap Scum
Soap scum is caused primarily by the reaction between the fatty acids in your soap and minerals in your water. If you’re in an area with hard water, which is high in minerals like calcium and magnesium, soap scum can form more readily. However, it’s worth noting that it can also occur with soft water, though generally to a lesser extent. The more soap and shampoo you use, and the fattiness of the soap you use, increases the likelihood of soap scum build-up over time. And lastly, soap scum can accumulate if you don’t regularly clean wet areas such as showers, tubs, and sinks.
Consequences of Soap Scum
Soap scum is not just unsightly; it can cause various problems. First, it makes surfaces look dirty and unattractive. Second, it can be tough to remove, especially when it has been left to build up over a long period. Third, soap scum can provide a conditioned environment for the growth of mildew and bacteria. Fourth, soap scum, when built up in drains, may cause clogs and slow water drainage.
Tackling Difficult Soap Scum Situations
Despite our best efforts, there may be instances when soap scum build-up is particularly stubborn or has caused some damage to your surfaces. But don’t worry, we’ve got tips for these tough situations as well.
Persistent Soap Scum
Persistent soap scum that doesn’t budge with the methods outlined above may require a more intensive approach.
If soap scum remains difficult to remove, consider leaving the cleaner on the surface for a longer time or applying a stronger solution. You can also reapply the cleaner and scrub again.
Another option is to use a stronger commercial cleaner specifically designed for heavy-duty soap scum removal. Always remember to follow the instructions for these products to avoid causing damage to your surfaces.
If the soap scum still refuses to budge, you may want to consider seeking professional help. A professional cleaning service, like KCS Kitchener Cleaning Services, have the tools and know-how to tackle even the toughest soap scum situations.
Surface Damage
Soap scum can sometimes cause surface damage like discoloration or etching. If this happens, consider seeking advice from a professional cleaner or the surface manufacturer to find suitable surface repair techniques.
Sometimes, if soap scum has been left to build up for too long, it can cause damage (like discoloration or etching) to the surface underneath.
In such cases, the solution goes beyond just cleaning. Depending on the extent of the damage, you may need to consider professional restoration services or replacing the damaged components or surfaces.
To avoid reaching this point, it’s crucial to address soap scum regularly and prevent its build-up.
Hiring a Professional
Sometimes it’s challenging to keep on top of house cleaning, particularly tasks like regular soap scum removal. That’s where the benefits of a professional house cleaning service truly shine.
Signing up for regular cleaning services isn’t just about maintaining an aesthetically pleasing home. It’s about preventing long-term damage caused by persistent problems like soap scum. Consider enrolling in regular services if you find yourself constantly battling stubborn soap scum, or if your busy schedule just doesn’t leave you enough time to clean your home regularly.
KCS Kitchener Cleaning Services offers regular cleaning services that can help maintain your home and keep soap scum at bay. We take pride in using green cleaning solutions that are tough on grime but gentle on your surfaces. What’s more, we back all our services with a 100% Satisfaction Guarantee. If there’s an aspect of our cleaning you’re not completely satisfied with, inform us within 24 hours and we’ll send someone to rectify the issue.